Thursday, June 30

DIY -- how to make brown paper gift wrap with a homemade block print stamp

here’s a quick & easy way to make some ooak sweet brown paper gift wrap, using a simple handmade stamp & some paint.


so make yourself a cup of tea and clear some space on the kitchen table, because this is paper is simple and homemade!


materials you will need to complete this project -

  1. roll of brown parcel paper - or brown paper bags
  2. stamp
  3. paint & paint pad
  4. some nice string or twine to add the finishing touch
  5. good size table to print on
  6. a long room to unroll your paper as you print so it can dry
  7. an old thin towel to lay on the table under the paper


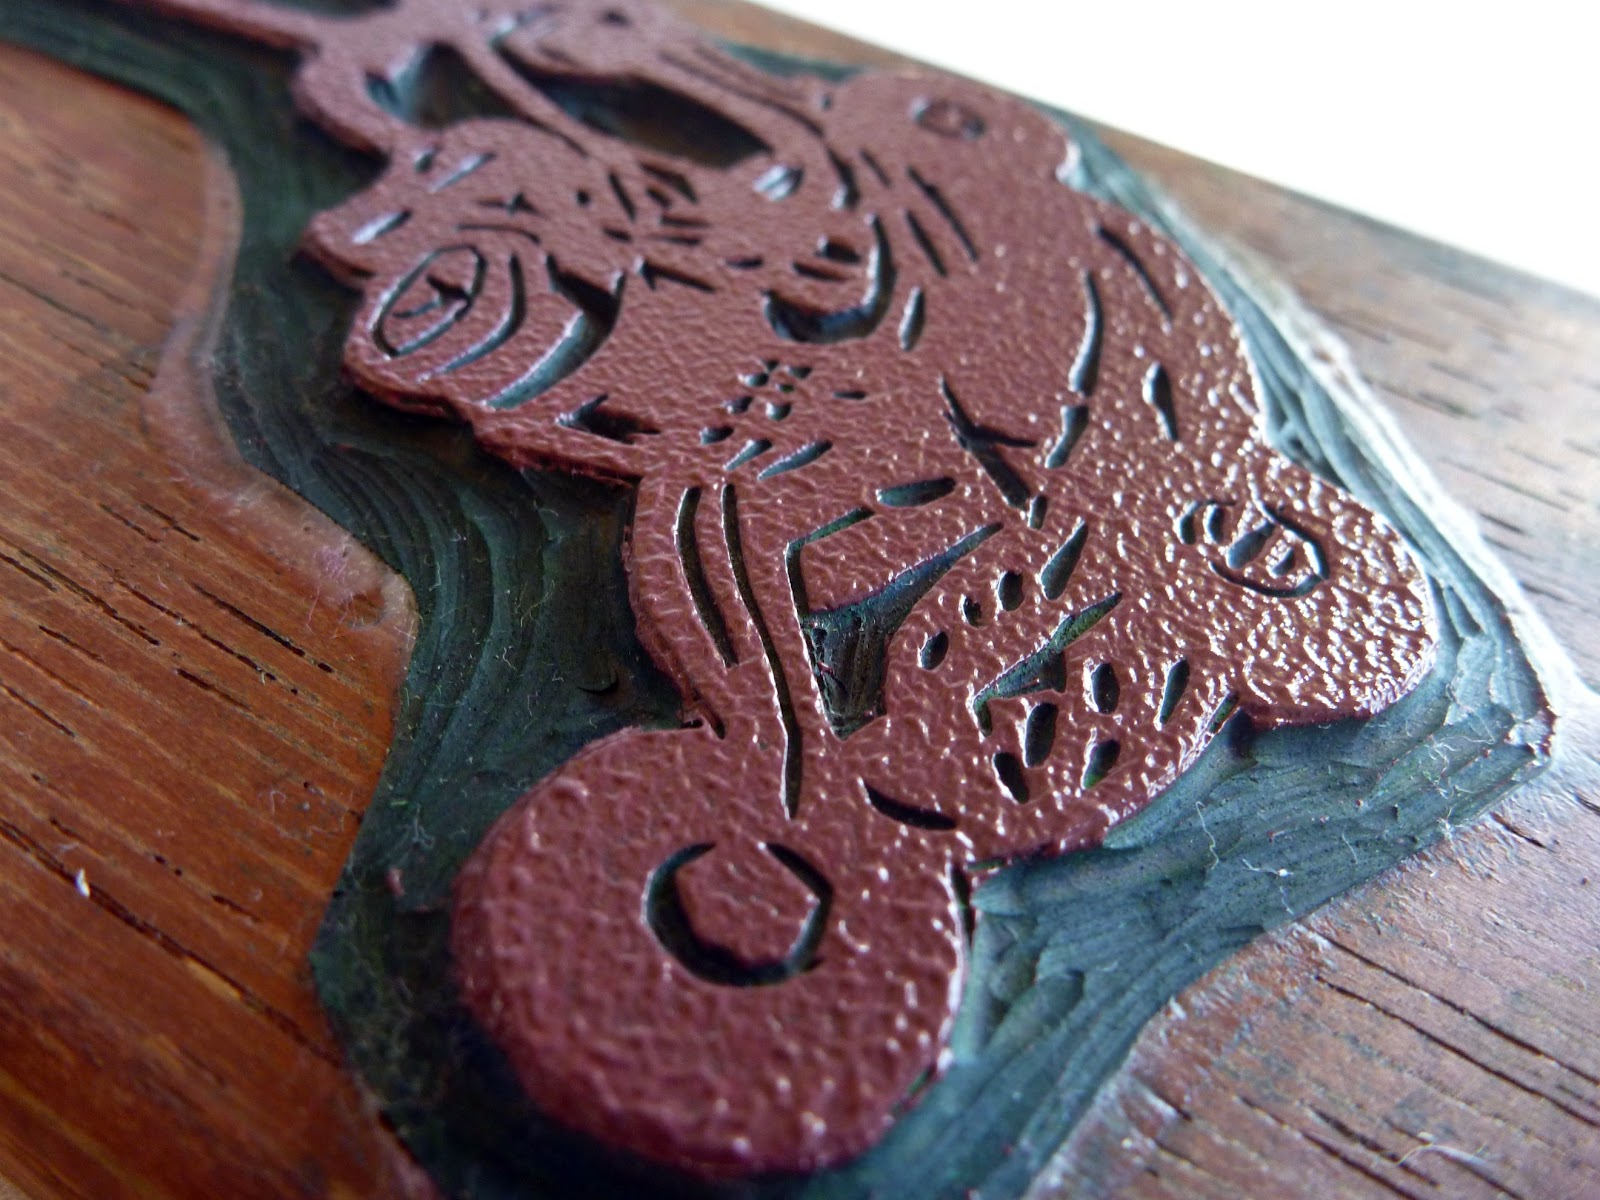
ok so let begin with designing & making a stamp to print with. because i am a blockprinter, in this project i used one of my hand-carved lino blockprints.


if your up for the challenge to make one of these, you will need a few extra materials... i.e. lino, carving tools, mounting block, & a stamp design in your head. there are many great online video tutorials of how to carve lino on youtube, so i recommend heading over there & linking with one to get the basics. it is quite easy once you get going. (i have made a couple of brief videos linked on this blog, but they are snippets really, rather than instructional).


but for a simple stamp - grab yourself an apple from your fruit bowl and slice it in half from top to bottom with a good size kitchen knife. if you want the stem to be a part of the print as well, use a sharp pair of scissors & snip the stem in half lengthwise before you cut the apple with your kitchen knife. using an apple for your stamp will make the prints look more organic!


next get your stamp pad ready. i found these non toxic kids hand-painting stamp pads at a local store for around $3.00. if you can't find these, simply make one at home by placing a thin piece of foam onto a dinner plate and add some acrylic paint to evenly saturate the foam. but you don't want too overdo the paint (just enough, so that when you press your finger into the foam, you can make a nice finger print onto the paper without skidding across the paper).


next you want to get your printing table ready. I wipe my table with a damp cloth and then smooth out the towel onto the table. this helps the towel to kind of stick to the table surface a bit. get your roll of paper and roll across the towel so you can start printing.


to ink up the stamp... simply press the apple or lino-cut block into your stamp pad a few times whilst checking the stamp surface. you want the paint to be evenly blotched over the entire raised surface, yet minimal paint any where else if you can help it. i tend not to worry about creating 'other' accidental marks, as i think this adds to the charm of this printing method. once your happy with your practice prints, think about what pattern (random is also good) & stamp away!


and keep stamping.... and stamping.... and stamping - but make sure you 're-ink' between each pressing if you want a bold even pattern like i have done. soon you will have beautiful printed brown paper strewn across your floor!


change colours if you want.... but make sure you wash your stamp in between colour changes (or swap to the other half of the apple, easy!)


and there you are... your very own way to make gift paper. this is a great activity to share with your kids... your could use so many other another veggie or things like leaves, or even jar lids will give some lovely circle patterns. imagine your own handmade christmas paper? after trying this project, & you become hooked.... you could then take it one step further & start printing on different surfaces - fabric, wood, t-shirts, walls and things like tea towels....... 


the world of block-printing awaits you. enjoy!


---

:: don't forget to come back and tell me if you tried this...i am sure you will come up with some clever new ways to do this for yourself....you can even upload a pic on the BIRCHseed facebook page if you dare!!

ps: i put together this DIY when BIRCHseed was featured on the Poppytalk Handmade market. it was featured on their The Homemade Artist blog. if you have not heard of Poppytalk, i highly recommend checking it out, because its loaded with wonderful things, inspiration and creativity.


pss: also features today over at the our creative spaces blog

Thursday, June 23

working on a few things 'for the boys'...

 i am working on a few new designs just 'for the boys'...


if you have been following updates over at BIRCHseed face book page, you would have seen a sneak peek of these 'boy things'.


as you can see... the 'victor' lawn mower design is getting alot of action atm. doing my test prints, my son has acquired a few new additions to his wardrobe... (a very big thanks to Mel from the organic mamas for that lovely & soft organic singlet you see on the right). i love the orange print on the navy fabric of this bonds onesie...


... and here i have experimented with printing directly onto the ribbed fabric of a bonds singlet... this technique, while looks ok here, is real hit and miss with it being very difficult to get a clean pressing of the print. i have many singlets that have not worked!!


... and these are the colours i have printed & are up for-sale in my shop (minus the dribbles)


and now onto the 'digger' design. diggers are what toddler boys are into - as i am quickly finding out! my idea behind this print is to make digger softies (teddies) for boys to cuddle & play with. girls seem to have a plethora of dolls and teddy's, and so i am thinking boys need something other than a typical teddy to add to their collection. 


and here is digger morphing into other play items for my son...


i think i may experiment with printing him a linen doona cover with diggers.?

... and finally the humble chook gets a look in here 'for the boys' too...


i made this chook pillow i made for my sons bedroom. whilst this is not a new design, i am playing around with using the print in many other ways than for the 6 different colours i do for the chook softies in my shop.

---

so there you have it. my new 'for the boys' range is slowly developing. being a mum to a 2 year old boy really does put you in-touch with whats important for the little men of this world!

:: what are your boys into right at this moment for their age?

Friday, June 17

top ten tips for shooting your own product photos -- at home with kids!


let me tell you that photo shoots with kids are not easy! you will find yourself crawling around on the floor, twisting and contorting your body to get the right angle, right light, no dribbles & you have to do this as fast as speedy gonzales before your kid runs off in the other direction & starts eating chocolate biscuits.

i have been taking photos for over 15 years, working from time to time as a freelance photographer. it is my belief that anyone can take great photos... you just need to know a few tricks of the trade and have camera that has a good portrait function (i use my trusty old nikon d70 that is about 8 years old now and quite outdated, but it works fine for me). 

:: so just to help you along here are my 10 tips for shooting great product photos with kids:
  1. choose a nice light filled room in your house. using alot of natural light means you won't need a tripod or flash, therefore no harsh shadows reflecting all over the place from a flash.
  2. think about the background, plain white walls bounce light off the best. you can always tape a sheet or some calico up on the wall.
  3. have all your products ready, ironed and clean in one pile ready to dress as quick as possible
  4. make sure your little models are fit, fed & happy - do not attempt this just before nap time!
  5. having a friend over is handy for quick outfit changes, as toddler-age kids do not tolerate the whole on / off redressing thing to well. 
  6. have a stack of toys and props ready to hand them and keep them occupied.
  7. have a dry face washer to catch dribbles before they run down and leave wet blobs on their chest (my boy is a big dribbler, as you can see below!).
  8. don't get upset of things are not going your way. praise and cuddle them, whilst trying to make the whole session appear the two of you are just hanging out playing with some toys.
  9. also do not get too in their face with the camera, as they will then want to grab the camera the whole time. this means use your zoom on your lens and distance yourself back a little bit from them.
  10. i normally love shooting my pics on a full manual setting, but forget about that with kids. i use a full automatic setting with auto focus and make sure that the flash mode is disabled.
---


... here are some shots from a quick photo session i did this week.... obviously i culled & choose the best from the 100 plus shots (thank goodness for digital cameras!)


talking to them about the product may help to engage and direct their attention


i am under the rocking horse on the floor shooting upwards to get this pic. move around constantly to find your best angle

remember to shoot all angles of the garment / product

use props & toys to add interest both to the shot and for your little model

kids love rolling around on the floor. for some reason they think it is hilarious when you stand above them and take their photo, who knows why?!

so there you have it... some tips that may help you to get some great pictures of your products with kids. if you rely on selling your products through online shops like me, using pictures where kids are wearing or using your products, will make you stand out & 'pop' amongst items that are photographed on coat hangers or the dining table.

---

:: if any of these tips appeal or work for you, drop a comment below or send me an email... i would love to know that what i have offered here today is useful in anyway :)

ps: head over to my madeit or etsy store for your own lawnmower singlet (or apple bib)... where singlets are selling for just $12!

Thursday, June 9

production series: tea pots -- part 3

we continue on today from part 1 & part 2 of this production series to show you what products i have made using this new tea pot print.


 its a similar post to the one i did about my 'apple' prints. some items are available to purchase in my shop now, others will be there soon after a bit more refining.


tea towels - these started out in just red. but thanks to a custom order request (via my madeit shop), yellow and blue are now featured there too. (ps: i actually LOVE the blue best!)


then onto a bit of creative sewing to make a birthday gift for a friends 2 year old girl...i used a natural linen fabric for the print patch & then appliquéd it onto a bondsie.


important announcement...i have fallen in love with hemp fabric! (organic of course!)


i have begun to experiment with this wonderful textile & i am addicted. you will certainly be seeing alot more BIRCHseed hemp products soon.


 ... and here we have a tea pot coaster to place underneath my tea pot. i have used hemp for the print and some vintage floral fabric from my own stash - have you seen my stash btw?


and finally, i am toying around with the idea of creating a little 'tea party' softie set for toddler-girls imaginary playtime.


i have an amazing tea cup collection to use for some new blockprint designs that will be added to the tea set over the next few weeks. 

---

:: Do you think some tea cup tea towels would be good too? i know i will be making some for my kitchen!


ps: this post was featured in this weeks 'our creative spaces' blog spot... some great designers & makers over there so go check it out!


Friday, June 3

production series: tea pots -- part 2

ok, so in part 1 of this production series, we left off at the carving stage... & then i was going to take you through some printing.


so... carving lino is all about cutting away the lino where you don't want it, & leaving it in place where you want to have your print highlighted onto the fabric (or paper, wood etc). i made a little video for you... it shows how i carved the inner detail of the tea pot.


 you will notice the line i am carving is very fine... i am using the narrow-est carving tool of my 5 tool set. i use this tool first to carefully go around and cut along the drawn design.


you use various size tools to carve away different levels of detail & surface area. use a bigger tool for quick removal & not so precious areas.


i also use this large tool to carve all the edges away, so i don't leave too many cut marks visible on the final inked print. (a few is good as it adds to the appeal of a hand-pressed blockprint).


... to also help prevent these marks, i cut (with scissors) the outer edges  - leaving about 1cm all around the design


next i glue the my design onto a wood block. mounting onto a block aids the inking & pressing processes of printing.


after the glue dries overnight, its into the shed we go for some printing. i gather my fabrics and sit & ponder for a while about what colours i want to print with...(sometimes this decision is made for me when i have custom orders -- i like custom orders!)


but for today i want some red tea pots! and so i get out my tub of red water-based printing paste, sponge up & ink my block...


flip it over... press into some fabric & hurrah!! we have a print


next week i will show you all the lovely items i have been making with my new tea pot print. 


---


:: for a sneak peak, you could head over to my madeit shop and check out 'this' & let me know what you think?


Related Posts Plugin for WordPress, Blogger...