Showing posts with label lino cut. Show all posts

Thursday, November 17

DIY -- potato stamp Christmas gift tags

I had a little weekend DIY featured this week over at the KANELSTRAND blog...


it shows you a simple and organic way to make some unique gift tags and sweet bunting for the upcoming festive season...


---

:: if you go on over and have a peek... do let me know if you like it (oh & if you try it out!)

ps:!! OH MY.... there are so many gorgeous creations are over at this weeks our creative spaces too :)


Thursday, October 27

market makings for Christmas


BIRCHseed will have a stall at 3 upcoming christmas markets. so i am making some festive trinkets to sell along with much of the usual BIRCHseed stuff.


i found this really great idea for embroidered fabric baubles over at the amazingly creative prints charming site. perfect for the blockprinting process i use and just so sweet don't your think?

here's how i made this bauble....
begins with a few sketches in my art journal


then out comes the silk cut....
drawing the design onto the pre cut lino and carving


inking up and test on paper, then fabric..


(the fabric i used was a scrap piece of linen tea towel i had left over from another project)


to complete the bauble, i hand stitched different colours of embroidery thread into the fabric print.


then i cut a nice red & white dotty contrast backing....sewed the two pieces of fabric together leaving a small gap to add some stuffing inside....


 hand stitched the gap closed and threaded some cotton twine through the top to hand the decoration on a tree.


and thats it done!

my aim is to make 6 different bauble designs that i will sell at the markets in kit form (where you can add your own colourful stitches) and quite a few more that i will complete and hang in a branch on my stall table.


:: do you think i should add them to my online shops for a bit of festive fun? would you sew & embroider some yourself too?


---

ps:  if you love markets & live around northern nsw...

 the first market is on the 26th november, in a little quaint town called stokers siding. its an old fashioned craft market held in a 100 year old hall. some of my friends will be there too - helle of gooseflesh /  kathy of oiko.

the second market is to be held on saturday the 3rd of december at the stunning tweed river art gallery. this gallery is worth a day trip in itself... a gorgeous contempory space set high on a hill, overlooking the tweed river, amongst some of the most stunning rural land you will ever see.

the third market i was invited by my friend ruth, to share a true 'christmas spirited' market run by the city church in brisbane, held on the sunday the 11th of december.


Thursday, September 22

tutorial - how to make home made cloth labels for clothes and products

:: lots of people have been asking me... 'do you make your own cloth labels?'


the answer is... yes i do! 

... & here is the tutorial i have been promising for many many months!!!....  making your own labels can save you money (who's got a spare $600 to get them manufactured when you are just starting up a small home-based business?!)

using the method below, you will end up with about 55 labels (depending on your logo size per A4 printed page) that measure approximately 6 cm wide and 1.8cm high.


OK...so here is the method to my madness:


---

Materials you will need:
  • a computer with basic software like microsoft word or publisher
  • a basic inkjet printer 
  • tshirt transfers for inkjet printer (i use the avery brand which can be purchased at BIG W for around $20 for 5 pack) 
  • natural cotton or linen fabric - about the size of an A4 piece of paper
  • an iron
  • some scissors or cutting blade & mat
  • a few basic graphic design skills to make your own logo (or a file with your logo from your fav graphic designer)


1. Setting the layout for the t-shirt transfer sheet
  • on your computer, using word or publisher (i use microsoft office publisher 2003) open a new 'blank document'.
  • go to the 'page setup' (which is in the FILE MENU BAR at the top)... then click the layout tab...  then click the 'custom' option in the 'publication type' drop down menu.
  • .... within this same 'page setup box', make your 'width' - 6cm & the 'height' - 1.8cm


  • make sure that your page 'orientation' is set to - landscape
  • click on the 'change copies per sheet' tab and select 'print multiple copies per sheet'
  • also while here your need to make all the 4 categories of 'spacing'* - 0cm (zero) * the spacing should now say you have 5 across and 11 down
  • click OK twice & this completes your 'page setup' process

2. Designing your logo
  • design your logo by selecting things like the font, size colour until your happy with the layout
  • or use the 'insert' menu > 'picture' to add a jpeg or giff of your logo
  • make sure you have at least 1/2 cm of space at either side of your text - as this empty space is where you will sew your label to your clothes  / products


  • click SAVE when your happy with your logo design
*** NB: if these 3 processes above were way too confusing, you can go to the Avery website here and use one of their simple address label templates (you will have to register first, which is quick and easy).

3. Run a test print 
  • make sure your printer settings are A4 size paper

4. IMPORTANT - NOW YOU MUST MIRROR your logo / text now! otherwise when you iron on the transfer it will read backwards, and no one likes that! you can flip text a few ways...

  • use your design software and look for a commands that say 'flip', 'mirror' or 'reverse'
  • within your printers properties setup look for 'flip horizontal', 'mirror image' or paper that says 'tshirt transfer'.
  • DO ANOTHER TEST PRINT NOW ONTO PLAIN PAPER (to check that its now flipped!)
  • your printout should look something like this now...


5. Printing onto the transfer paper
  • make sure your printer is set to 'transfer paper'... you will usually find this option when looking at your printers 'properties' or 'page setup'.
  • if you can't find this option i recommend setting the printer to the 'best print quality' output. yes it will take a few minutes to print the page, but what this does is lay down a good amount of ink that gives the text on your labels a solid base to go through many many washes and not fade.
  • when inserting the transfer paper into the printer paper tray, have the back of the transfer paper facing up, this means your print will come out on the correct side (i am assuming all printers will be like mine, so please correct me if i am wrong)


  • ok so now your printed transfer paper is ready for ironing....

6. Ironing the transfer onto cotton fabric or cotton tape
  • read the simple instructions (included inside the pack) before you begin this stage ... or go here for a PDF of instructions
  • cut a piece of white or pale coloured cotton or linen fabric to A4 size and iron it so its nice an flat. let cool down.


  • lay your transfer paper over the cotton, making sure that the Avery logo is facing you and the printed side is face down onto the fabric.
  • Iron across the fabric, applying good pressure using two hands, for approximately 3 minutes. do not leave the iron in one spot for 3 minutes, otherwise it will scorch! just move it slowly for the 3 minutes back and forth. 


  • once done, let the transfer cool for 2 minutes or so
  • then gently peel the top paper off the fabric surface in one smooth motion


  • if your transfer is lifting off the fabric simply place the paper back down and give it some more time with the iron

7. cutting your labels ready for sewing
  • you now have a sheet of labels
  • using a Stanley knife and mat (or scissors, like me) cut your labels out in strips to store, or singles to sew onto your handmade products


  • i go fairly free hand here, as i like my labels to look non-perfect and a little raw edged. sometimes i will pull a few stray strands of thread and fray them a little. other times i will leave them more clean cut looking.


  • if you are using cotton tape to make your labels, simply cut your A4 label sheet across in strips and iron on each individual strip. this takes longer, but the labels are perhaps the best looking this way (if you want that really professional finish). 
  • nb: if you are making labels on a dark coloured fabric, you will have the purchase transfer sheets for this purpose and follow the directions, which are slightly different.
  • also...you could try experimenting with other base cloths (as more chunky hemp / linen fabric labels can look really nice too).


  • and if you have a rubber stamp made up with your logo (i hand-carved mine from lino), you can experiment with printing straight onto fabric - just make sure you use fabric ink/paint and heat-set them afterwards.


---

& there you have it... a way to make your own labels at home. its a bit of a process... and yes, you need a good few hours to do this for the first time... but after doing the whole process once, it is much quicker the next time round!!


:: if you can't get your head around certain parts of this tutorial, or you have more improved and easier ways to do things, then pop up a comment (or email me) to chat and share :)

ps: if you would like to be notified when i post up new tutorials like this ( & my 1st giveaway is happening very soon too).... then subscribe here!

oh & dont' forget that there is more fun and games found over at our creative spaces today!

Thursday, June 23

working on a few things 'for the boys'...

 i am working on a few new designs just 'for the boys'...


if you have been following updates over at BIRCHseed face book page, you would have seen a sneak peek of these 'boy things'.


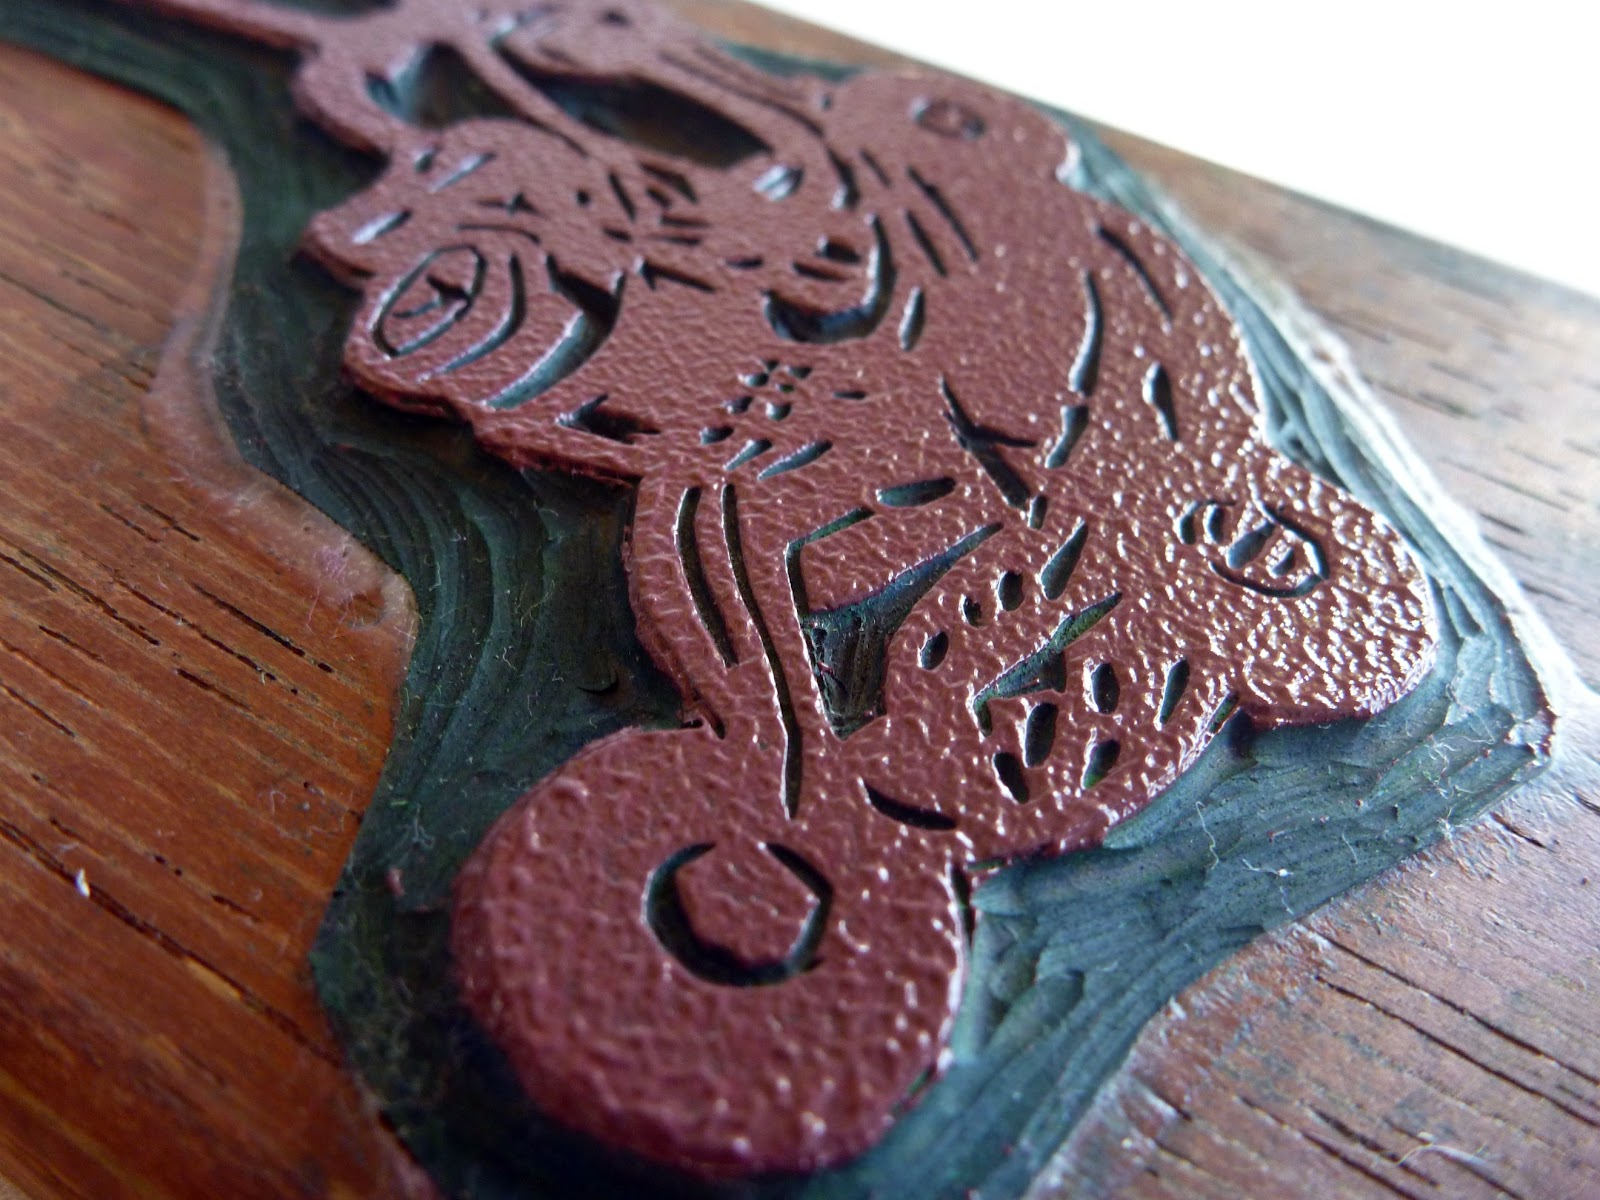
as you can see... the 'victor' lawn mower design is getting alot of action atm. doing my test prints, my son has acquired a few new additions to his wardrobe... (a very big thanks to Mel from the organic mamas for that lovely & soft organic singlet you see on the right). i love the orange print on the navy fabric of this bonds onesie...


... and here i have experimented with printing directly onto the ribbed fabric of a bonds singlet... this technique, while looks ok here, is real hit and miss with it being very difficult to get a clean pressing of the print. i have many singlets that have not worked!!


... and these are the colours i have printed & are up for-sale in my shop (minus the dribbles)


and now onto the 'digger' design. diggers are what toddler boys are into - as i am quickly finding out! my idea behind this print is to make digger softies (teddies) for boys to cuddle & play with. girls seem to have a plethora of dolls and teddy's, and so i am thinking boys need something other than a typical teddy to add to their collection. 


and here is digger morphing into other play items for my son...


i think i may experiment with printing him a linen doona cover with diggers.?

... and finally the humble chook gets a look in here 'for the boys' too...


i made this chook pillow i made for my sons bedroom. whilst this is not a new design, i am playing around with using the print in many other ways than for the 6 different colours i do for the chook softies in my shop.

---

so there you have it. my new 'for the boys' range is slowly developing. being a mum to a 2 year old boy really does put you in-touch with whats important for the little men of this world!

:: what are your boys into right at this moment for their age?

Wednesday, May 25

production series: tea pots -- part 1

ok. here's the beginning of a new series... i am going to share with you how my BIRCHseed -- printed by hand products are made. 

---

1. it begins with thinking of an idea for a new product. in this case its a tea pot print for toddler girls a range of products like: t-shirt print / toy softie / scarf & fabric for clothes making.


i source inspiration from online / mags & books / thrift stores (yes! where i found this awesome tea pot) / my garden / nature walks etc. everywhere really - my brain does not stop.

---

2. i then start sketching & getting my design in some sort of order


3. i select the design i am happy with the most 


4. then draw it onto the lino (in reverse as all blockprinting is mirrored when pressed)


5. & then the carving begins...


& thats all i have done so far... 

i am working on this project now so you will see part 2 shortly that will take you through the carving & printing processes in more detail.

---

:: until then you can follow daily posts with my 'thrift finds week' over at my facebook page -- oh & i would love to hear any projects (big or small) that you have in progress :)

Wednesday, May 11

apples -- part 1

i like them! - but i don't know why...? 


perhaps its the sentimental value of it being the first ever block i handcarved? maybe its because i am not getting tired of looking at it? i just can't put my finger on why i like printing apples!

anyway, i guess i have become rather attached to printing them... as i seem to think up a myriad of ways to apply the print - in all sorts of colours too! (apples - part 2 coming soon).

:: whats your favourite creation at the moment?

--
Related Posts Plugin for WordPress, Blogger...